Importing Collections
Bruno supports importing collections from multiple tools and formats, making it easy to transition from other API clients or work with API specifications. This guide provides step-by-step instructions for each import format.
How to Access Import Collection
You can import collections in two ways:
Option 1: From Home Screen

Click Import Collection on the Bruno home screen.
Option 2: From Context Menu

Click the ellipsis (three dots) in the top-left corner and select Import Collection.
Import Options Dialog
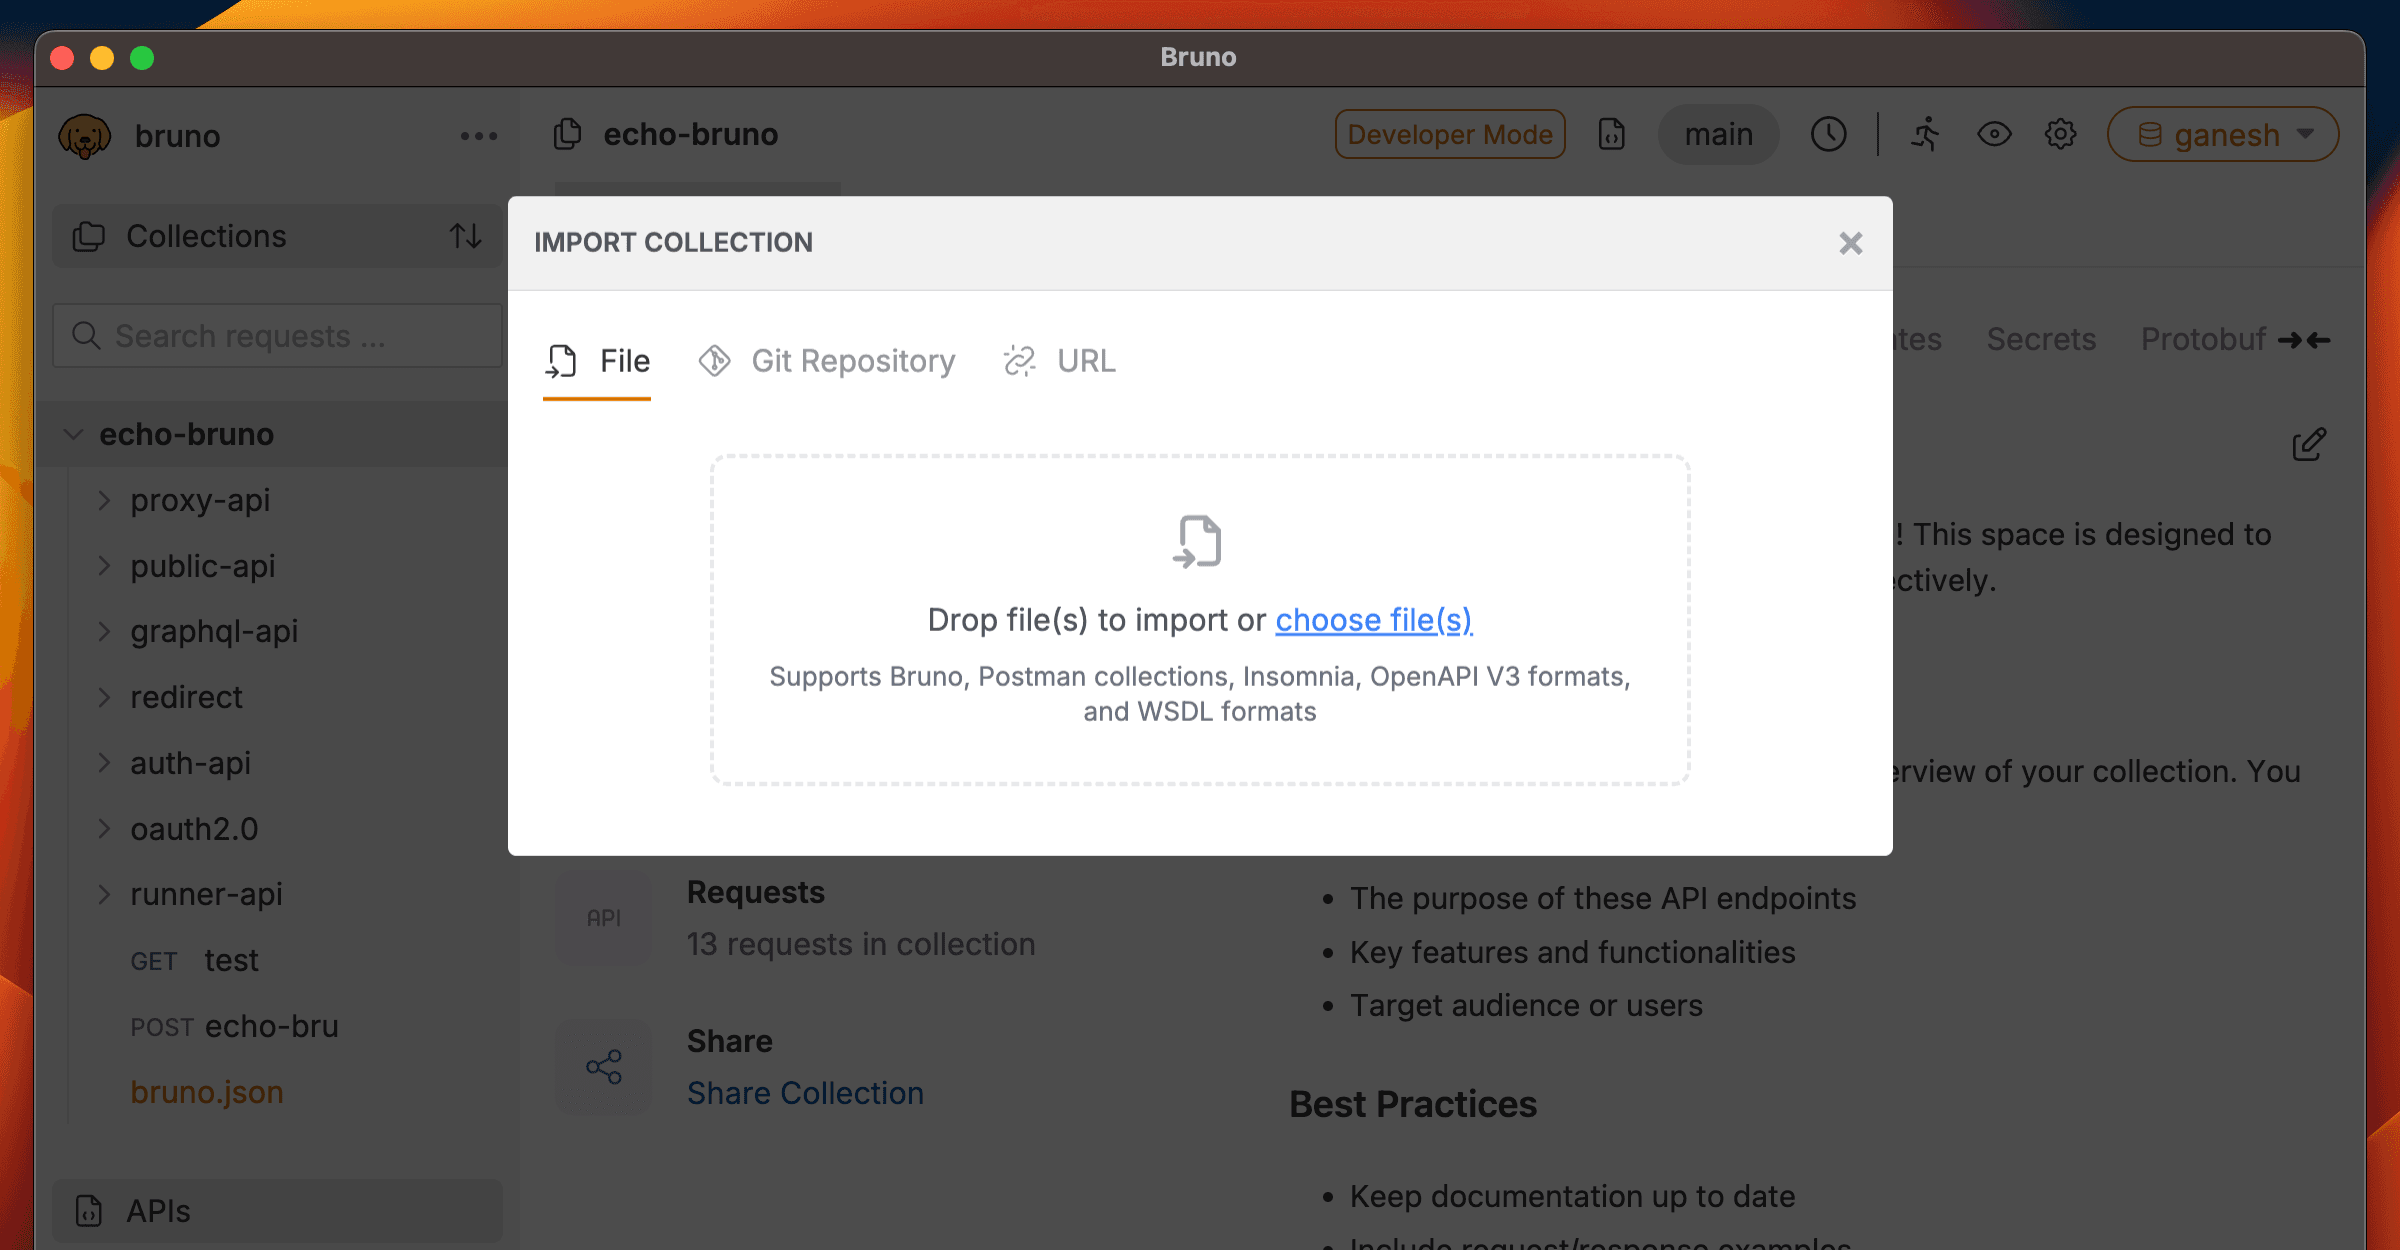
Once the import dialog opens, you’ll see all available import formats. Select the one that matches your source.
Import Formats
1. Bruno Collection
Use this when: A colleague shares their Bruno collection with you or you’re restoring a backup.
Steps:
- Open Bruno
- Click the context menu (three dots) → Import Collection
- Browse and select your Bruno collection folder
- Click Import
Your collection with all requests, folders, and configurations will be imported.
2. Postman Collection
Use this when: You’re migrating from Postman or importing collections shared by Postman users.
Steps:
-
Export from Postman:
- Open Postman
- Click on your collection → Export
- Choose Collection format
- Save the
.jsonfile
-
Import to Bruno:
- Open Bruno
- Click the context menu (three dots) → Import Collection
- Drag and drop your exported
.jsonfile, or click to browse - Click Import
Learn more: Postman Migration
3. Postman Data Export
Postman Data Export is available in our Ultimate Edition. This allows you to import your entire Postman workspace including collections, environments, and globals in one go.
Use this when: You want to migrate your entire Postman workspace to Bruno.
Steps:
-
Export from Postman:
- Open Postman
- Go to Settings → Data
- Click Export Data
- Choose what to include (collections, environments, globals)
- Download the export file
-
Import to Bruno:
- Open Bruno
- Click the context menu (three dots) → Import Collection
- Select your exported data file
- Click Import
Complete guide: Postman Migration Guide
4. Insomnia Collection
Use this when: You’re migrating from Insomnia or importing collections from Insomnia users.
Steps:
-
Export from Insomnia:
- Open Insomnia
- Click on your workspace/collection
- Go to Application menu → Preferences → Data
- Click Export Data
- Choose Export Collections or Export Workspace
- Save the
.jsonfile
-
Import to Bruno:
- Open Bruno
- Click the context menu (three dots) → Import Collection
- Drag and drop your exported
.jsonfile, or click to browse - Click Import
5. Cloning a Git Repository
Git Integration is available in our Pro and Ultimate Editions.
Use this when: Your team stores Bruno collections in a Git repository for version control and collaboration.
Prerequisites:
- Make sure the Git repository contains a valid Bruno collection
- Ensure you have access credentials for the repository
Steps:
- Open Bruno
- Click the context menu (three dots) → Import Collection
- Select Clone from Git Repository
- Enter the Git repository URL
- Choose the local destination folder
- Click Clone
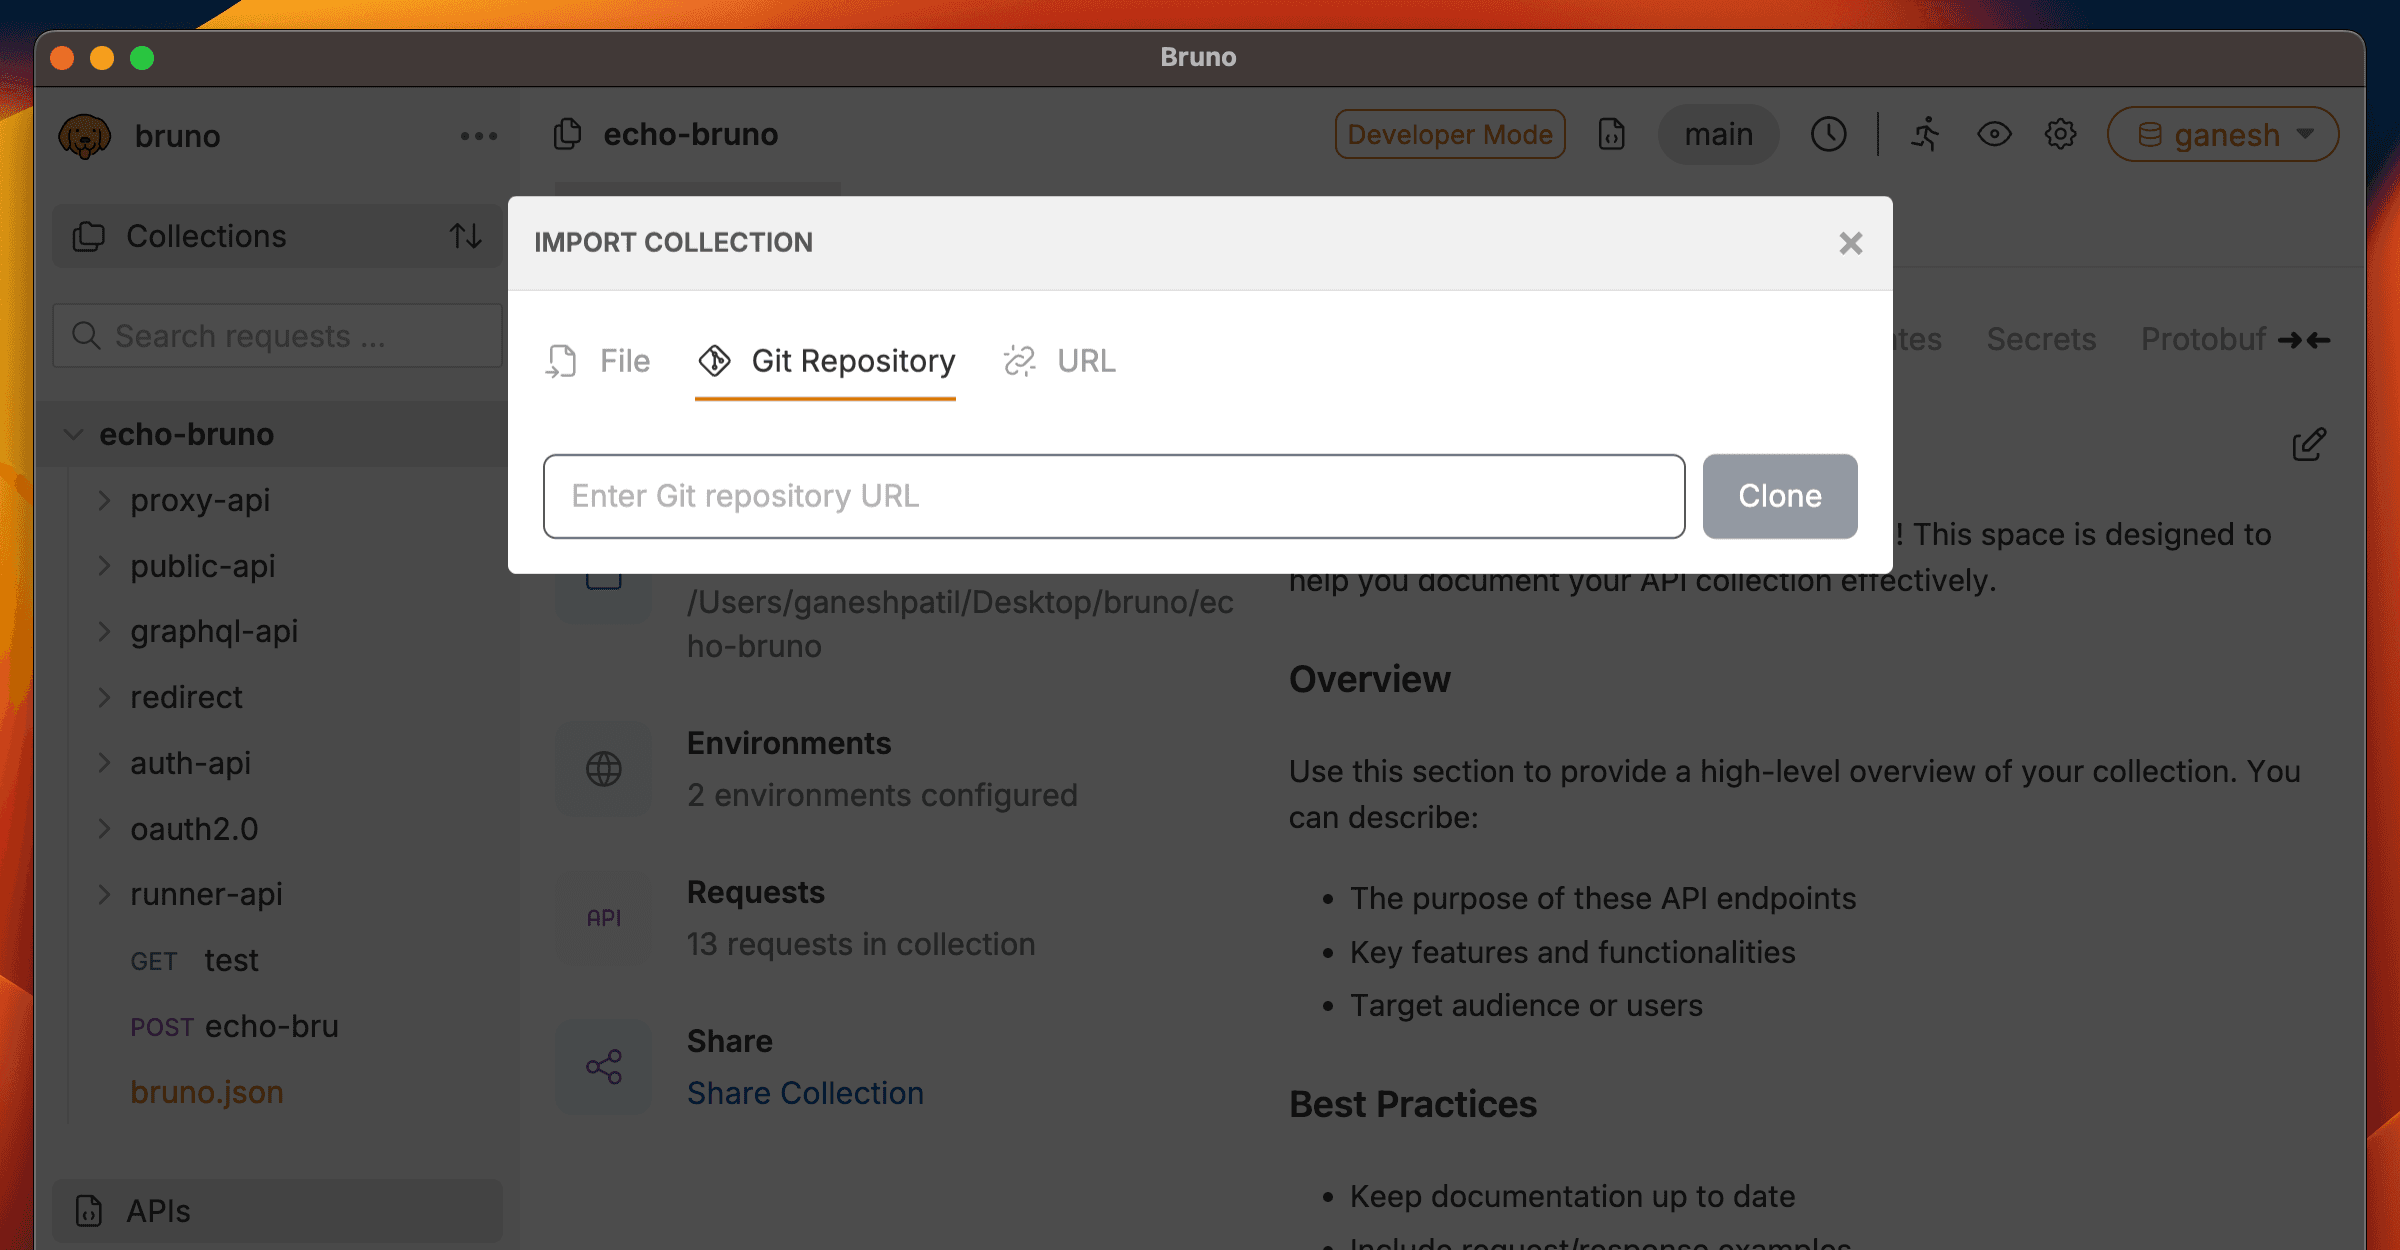
The collection will be cloned and you can start using it immediately. Any changes you make can be committed back to the repository.
Complete guide: Git Integration Overview
6. OpenAPI Specification
Use this when: You have an OpenAPI (Swagger) specification file and want to generate API requests from it.
Import from OpenAPI File
Steps:
-
Obtain your OpenAPI file:
- Get your OpenAPI specification file (
.jsonor.yamlformat) - Ensure it’s OpenAPI v3.x format
- Get your OpenAPI specification file (
-
Import to Bruno:
- Open Bruno
- Click the context menu (three dots) → Import Collection
- Drag and drop your OpenAPI file (
.jsonor.yaml), or click to browse - Click Import
Import from OpenAPI URL
Steps:
- Open Bruno
- Click the context menu (three dots) → Import Collection
- Enter the OpenAPI specification URL (e.g.,
https://api.example.com/openapi.json) - Click Import
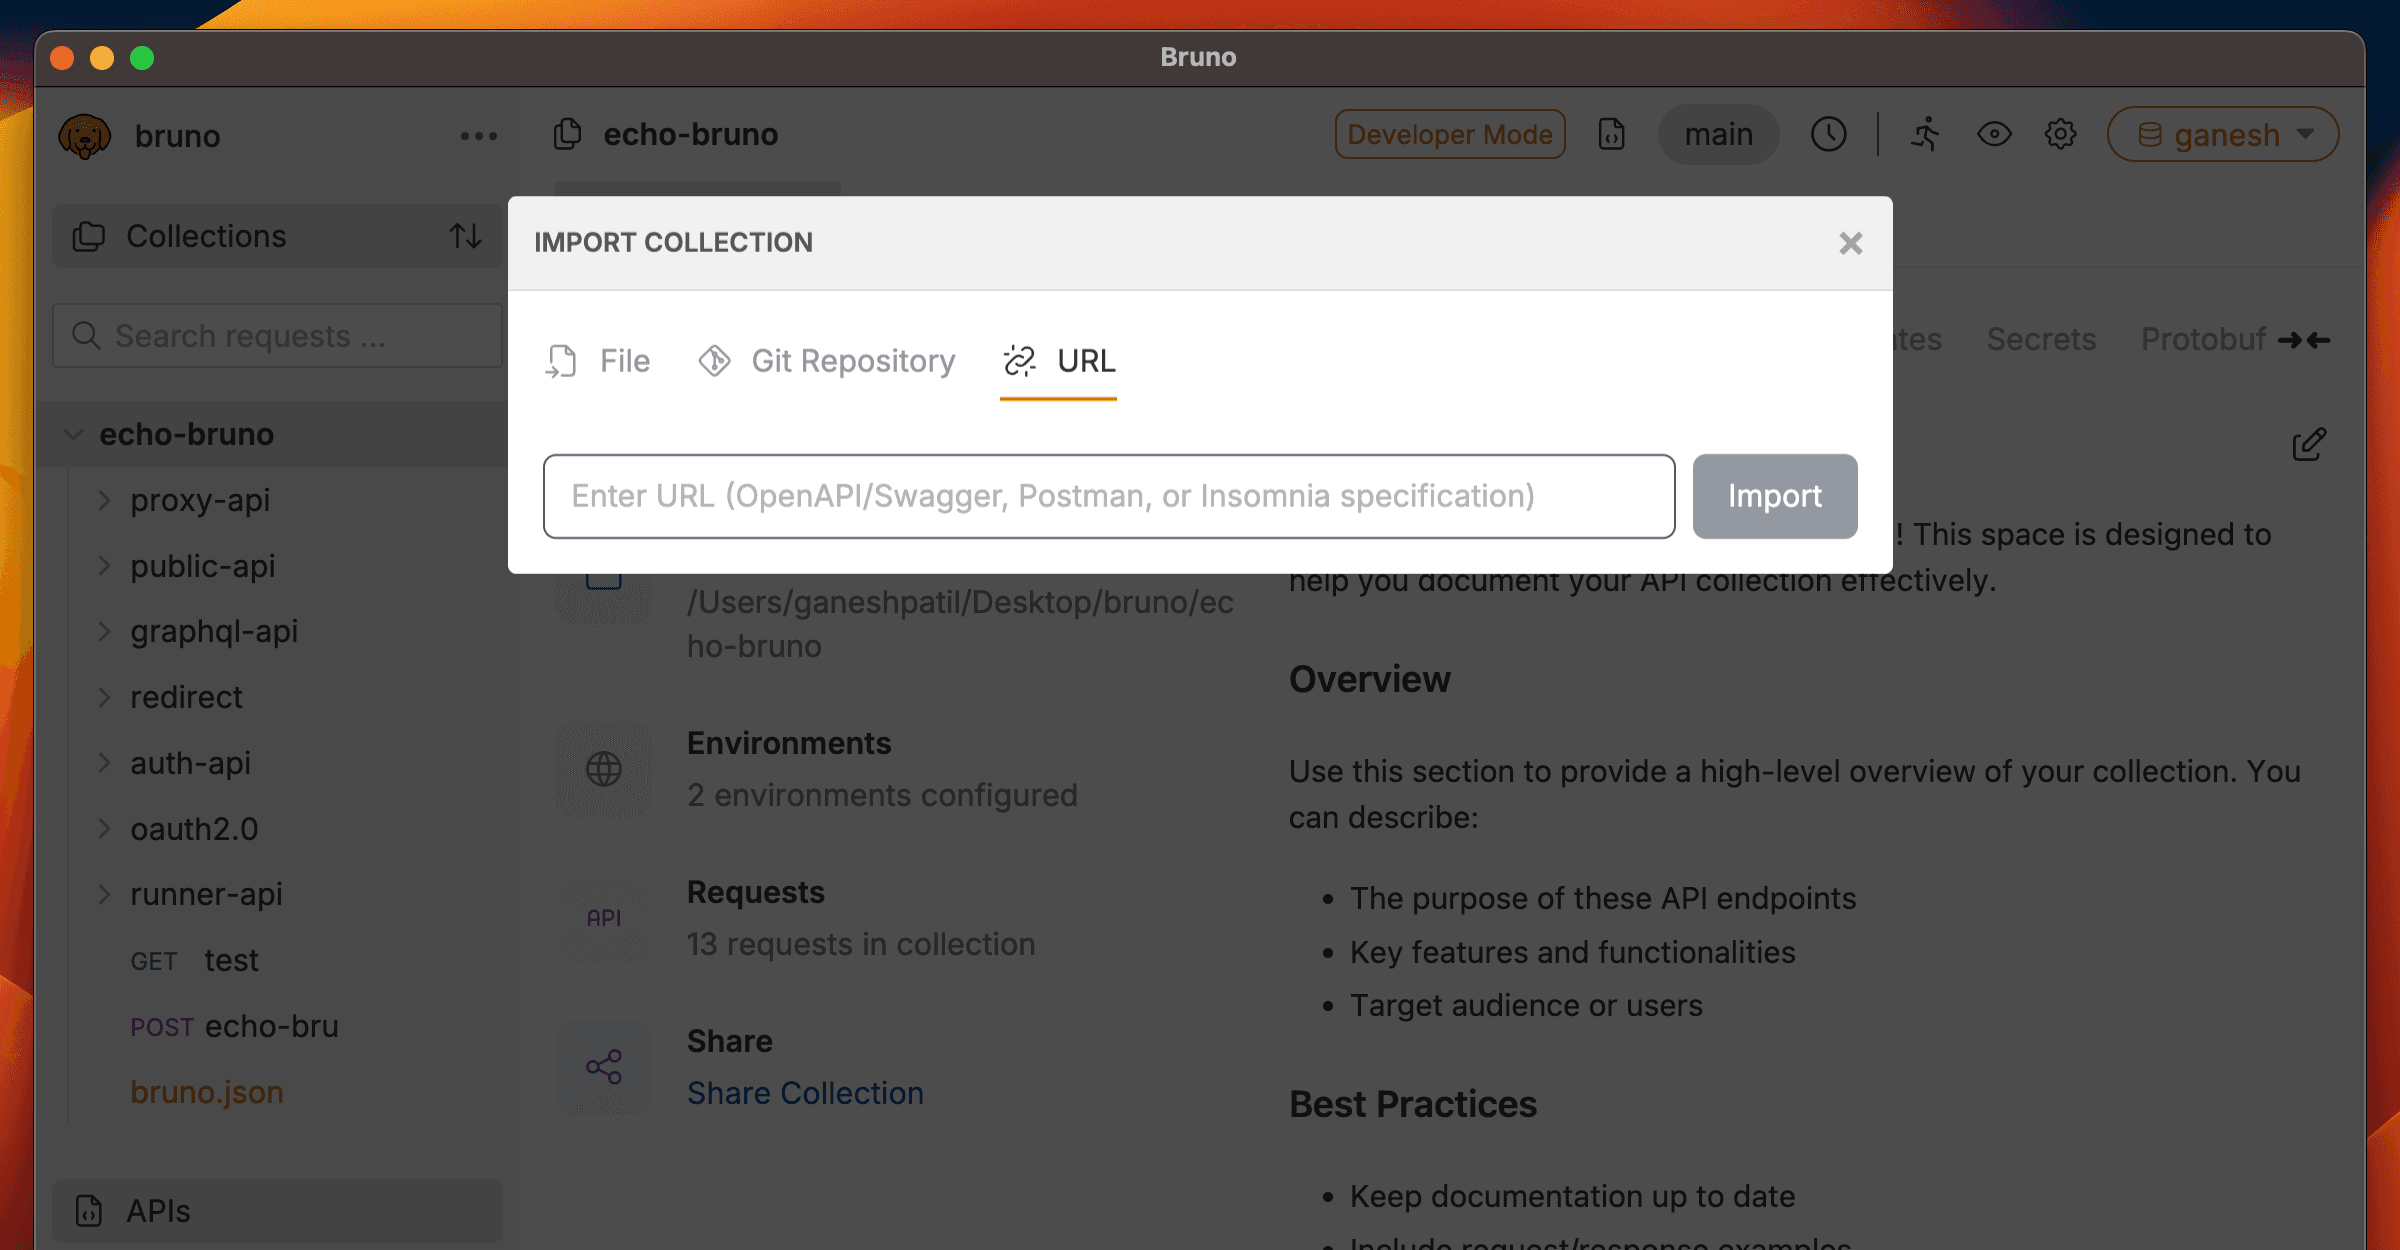
Bruno will automatically generate requests for all API endpoints defined in the specification.
Learn more: OpenAPI Guide
7. WSDL (Web Services Description Language)
Use this when: You’re working with SOAP-based web services and have a WSDL file.
Import from WSDL File
Steps:
-
Obtain your WSDL file:
- Get the
.wsdlfile from your SOAP service provider - Or download it from the service endpoint (usually available at
?wsdl)
- Get the
-
Import to Bruno:
- Open Bruno
- Click the context menu (three dots) → Import Collection
- Drag and drop your
.wsdlfile, or click to browse - Click Import
Complete guide: SOAP Requests
After Import
Once your collection is imported:
- Review the requests - Check that all requests imported correctly
- Configure environments - Set up variables for different environments (dev, staging, production)
- Test the requests - Execute a few requests to ensure they work as expected
- Organize - Create folders and organize requests if needed
- Set up authentication - Configure authentication methods if required
Need Help?
If you encounter issues during import:
- Check the format of your export file
- Ensure you’re using the latest version of Bruno
- Visit our GitHub Discussions for community support
- Report bugs on GitHub Issues